Heavy-Duty Brake Shoe Inspection: 8 Steps Before You Replace
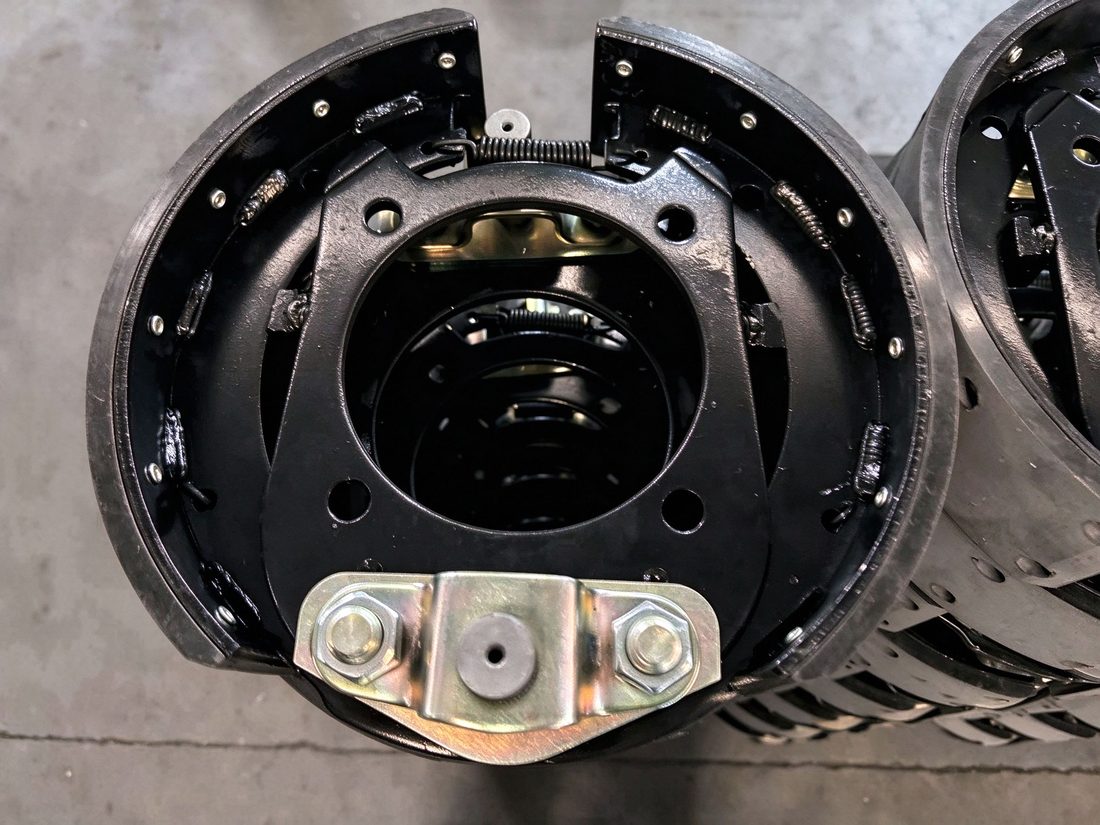
Brake shoes carry the friction material that stops a heavy-duty vehicle — but only if they are inspected and maintained correctly. On S-cam drum brakes, worn or mismatched shoes are the #1 cause of uneven braking, pulled stops and premature drum damage. This guide walks through the 8-step inspection you should run before deciding to replace.
1. Measure Lining Thickness at Both Ends
Heavy-duty brake lining wear is never uniform. Always measure at both the anchor end and the cam end of the shoe, and record the thinnest point. For most commercial applications, replace when remaining lining falls below 6 mm (1/4 inch) — earlier if the lining is cracked, glazed or delaminating.
2. Check Rivet Head Depth
If your shoes are riveted (the standard for American 16.5" drums such as 4515 / 4709 / 4711), the rivets must sit below the lining surface. Once rivet heads wear flush or proud, the metal contacts the drum immediately — scoring it and destroying brake performance.
3. Inspect Web and Anchor Pin Condition
Look for cracks, elongation of the anchor pin holes and wear at the cam roller pocket. A 4707 brake shoe kit or a Meritor Q-Plus shoe with a distorted web cannot be rebuilt safely — replace the shoe rather than re-lining it.
4. Verify Hardware: Springs, Rollers, Retainers
Return springs lose tension over time; hold-down springs fatigue; rollers and anchor pins wear flat. Always pair new shoes with a fresh hardware kit. Never reuse springs from a previous brake job.
5. Measure Drum Diameter and Run-Out
The drum must be within the manufacturer's maximum reface diameter and run-out limit. An oversized or out-of-round drum will make even a brand-new shoe perform poorly and wear fast.
6. Confirm the Correct FMSI / WVA Part Number
American shoes (4515, 4709, 4711), European shoes and Chinese FUWA-axle shoes (FUWA 13T/15T) all share a 16.5-inch drum but are not interchangeable — web design, anchor pin slots and roller positions differ. Match the exact FMSI/WVA number before ordering.
7. Check the Camshaft and Slack Adjuster
Worn camshaft bushings and frozen slack adjusters cause shoes to drag or fail to apply. Inspect before blaming the shoes — brake drag after a shoe replacement is often a camshaft problem, not a shoe problem.
8. Torque and Re-Burnish Correctly
After installation, torque the wheel nuts to spec and complete the manufacturer's burnishing procedure (typically 20–50 controlled stops). Never road-test a heavy truck with brand-new shoes without burnishing — stopping power is intentionally reduced until the lining mates with the drum.
Re-Line or Replace? The Economic Question
Re-lining a sound shoe shell costs a fraction of a new assembly — but only when the shell passes inspection. On American fleets, the 16.5" x 7" shoes such as 4707 and 4515 / 4709 / 4711 are routinely re-lined once or twice before scrapping. Re-lining is safe when the web is straight, the anchor pin holes are round, the cam roller pocket is unworn and the shell has no cracks. If any of these fail, re-lining is false economy — a failed shoe at highway speed costs far more than a new assembly.
Inspection Frequency and Documentation
North American FMCSA regulations require documented brake inspections on commercial vehicles. Fleet practice varies by duty: daily walk-around checks for visible lining, springs and adjuster stroke; monthly detailed measurement on high-mileage trucks; and at every brake service a full teardown inspection. Keep a per-axle record of lining thickness at both ends — the trend line tells you when replacement is due before performance drops.
Tools You Need for a Correct Inspection
- Lining thickness gauge — measures through the inspection hole without pulling the drum.
- Dial indicator — for drum run-out and camshaft end play.
- Spring scale or tension tester — verifies return spring strength.
- Inside micrometer — drum diameter and taper measurement.
- FMSI/WVA cross-reference chart — confirms the correct shoe before ordering.
Common Mistakes That Shorten Shoe Life
Three errors cause most premature shoe failure: fitting mismatched shoes left and right on the same axle (different lining grade or FMSI number), skipping hardware replacement to save a few dollars, and failing to burnish after installation. All three are fully preventable with the inspection routine above — and all three are the first things a roadside inspector will check.
When to Call In a Specialist
If you measure uneven wear across one axle, repeated premature failures on one position, or any sign of a hot-running hub (discolored drum, burnt grease smell), stop guessing and inspect the wheel end as a system: bearings, seals, camshaft, slack adjuster and drum are all suspects. A brake shoe that keeps failing in the same position is almost always a symptom of a wheel-end problem, not a shoe problem — fix the root cause and the shoes will last.
Key Takeaways
- Measure lining at both ends — 6 mm is the common replacement threshold for heavy-duty shoes
- Never reuse springs, rollers or anchor pins with new shoes
- Match the exact FMSI/WVA number: 4515, 4709 and 4711 are not interchangeable
- Burnish new shoes after installation — never trust a fresh brake job without it
Need OE-Grade Replacement Brake Parts?
SAITE Friction is an ISO 9001 / IATF 16949 certified friction material manufacturer in Huangshi, China, supplying OEM-quality heavy-duty brake parts worldwide. Get factory-direct pricing with ECE R90 documentation.