S-Cam Brake Shoe Assembly Replacement: Step-by-Step Guide
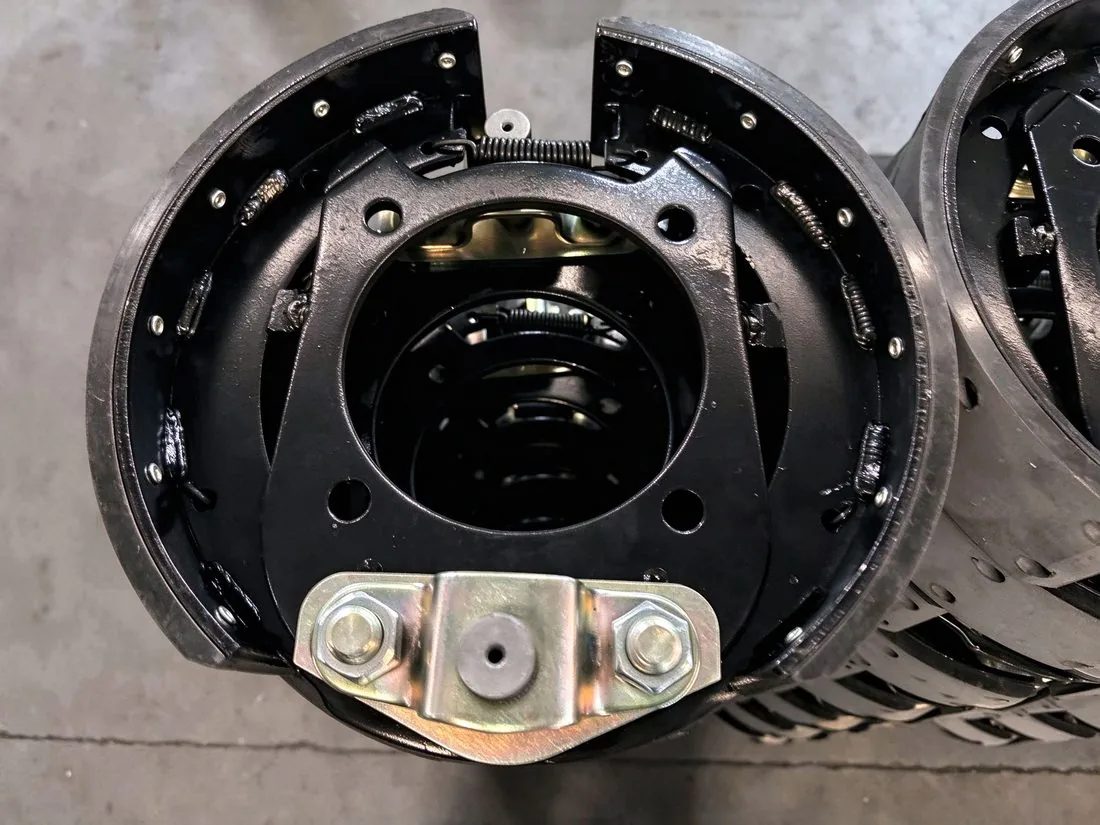
Replacing a brake shoe assembly on an S-cam drum brake is one of the most common jobs in a heavy-duty workshop — and one of the most frequently done wrong. Skip the hardware, miss the camshaft lubrication or get the slack adjuster stroke wrong, and a brand-new shoe will wear fast, drag or pull. This step-by-step guide covers the full replacement routine for trucks and trailers.
1. Replace the Assembly or Re-Line?
If the shoe shell passes inspection — straight web, round anchor pin holes, unworn cam roller pocket — re-lining is the economical choice, and the standard practice for American 16.5" shoes such as 4707 and 4515. If the shell is cracked, distorted or the hardware is worn out, fit a complete brake shoe assembly. Our 8-step brake shoe inspection guide tells you which case you are in.
2. Safety and Tools First
- Chock the wheels and release the parking brake — never work under a trailer on air alone.
- Use axle stands rated for the loaded axle weight; air bags must be deflated and caged.
- Have the correct tooling: brake spring pliers, hold-down spring tool, torque wrench, dial indicator and a brake stroke gauge.
- Mark the position of each shoe before removal so you can compare wear side to side.
3. Removal: Drum, Springs, Rollers and Anchor Pins
Pull the drum (after releasing the adjuster so the shoes retract), remove the hold-down springs, lift off the return springs with brake spring pliers, then slide the shoes off the anchor pin and lift them clear of the cam roller. Keep left and right sets separate — do not mix shoes from opposite sides of the axle.
4. Compare Old and New: What Else to Replace
Lay the old and new assemblies side by side. Check lining thickness, shoe web width, anchor pin hole size and roller pocket position match. Replace the entire hardware set — return springs, hold-down springs, rollers and anchor pins — with every brake job. Reused hardware is the single most common cause of premature failure of new shoes.
5. Assembly and Installation
- Lubricate the camshaft bushings, cam roller and anchor pin with high-temperature wheel-bearing grease.
- Fit the return springs to the new shoes before lifting them into place, then position the shoes on the anchor pin and cam.
- Install the hold-down springs and retainers, confirming the shoe web is square against the backing plate.
- Refit the drum, checking for binding; back off the adjuster first if the shoes drag.
- Torque the wheel nuts to the vehicle manufacturer's specification in a star pattern.
6. Air System and Spring Brake Handling
S-cam brakes on trucks and trailers are actuated by air chambers, and many axles also carry spring brake chambers. Before any brake work: chock the wheels, exhaust the air pressure, and cage or mechanically block the spring chamber so the parking brake cannot apply while the shoes are out. Forgetting this step is how brake assemblies get crushed and technicians get injured. On trailer axles, also confirm the ABS sensor ring and wheel speed sensors are unharmed during shoe removal.
7. Reading the Old Shoe: A Quick Failure Map
| Wear pattern | Usual cause | Action |
|---|---|---|
| Even, both shoes | Normal service | Replace and burnish |
| Cam-end wear only | Worn camshaft bushings / incorrect cam phasing | Repair camshaft before new shoes |
| Anchor-end wear only | Anchor pin seized or loose | Replace anchor pin and bushings |
| Diagonal wear (heel-to-toe) | Out-of-round drum or shoe web distortion | Measure drum and shoe web |
| One shoe worn, opposite new | Slack adjuster fault on one side | Check stroke and adjuster function |
8. Brake Adjustment: Set the Stroke, Not the Feel
On S-cam brakes, adjust by stroke, not by feel. With the brakes applied and the wheels rotated by hand, the pushrod stroke should sit in the manufacturer's range (typically 25–40 mm at the chamber). An automatic slack adjuster should be reset with its tooling or backed off and re-applied, never hammered. Correct stroke is what keeps the shoes in the optimum band of the cam rotation.
9. Burnishing and First Checks
After installation, burnish the shoes with 20–50 controlled stops from moderate speed, cooling between stops. Then re-check: adjuster stroke, hub temperature (a hot hub means drag), and brake pull in a controlled test. Document lining thickness and stroke per axle for the maintenance record.
10. Common Mistakes
- Reusing springs and rollers — fatigue causes drag, pull and premature wear.
- Mixing shoe sizes or grades on one axle — braking becomes uneven and unsafe.
- Over-greasing or under-greasing the camshaft — both cause sticking and wear.
- Adjusting by feel — an over-adjusted brake drags; an under-adjusted one fades.
- Skipping burnishing — new shoes under-brake for the first hundreds of kilometres.
Key Takeaways
- Re-line only when the shoe shell passes inspection; otherwise fit a complete assembly
- Always fit a fresh hardware set — springs, rollers, anchor pins — with new shoes
- Adjust S-cam brakes by pushrod stroke, typically 25-40 mm, never by feel
- Burnish with 20-50 controlled stops and verify hub temperature before returning the vehicle to service
Need Complete Brake Shoe Assemblies?
SAITE Friction manufactures riveted and lined brake shoe assemblies for American, European and Chinese trailer axles, with FMVSS 121 test documentation available. Send your FMSI or WVA number for a factory quote.